
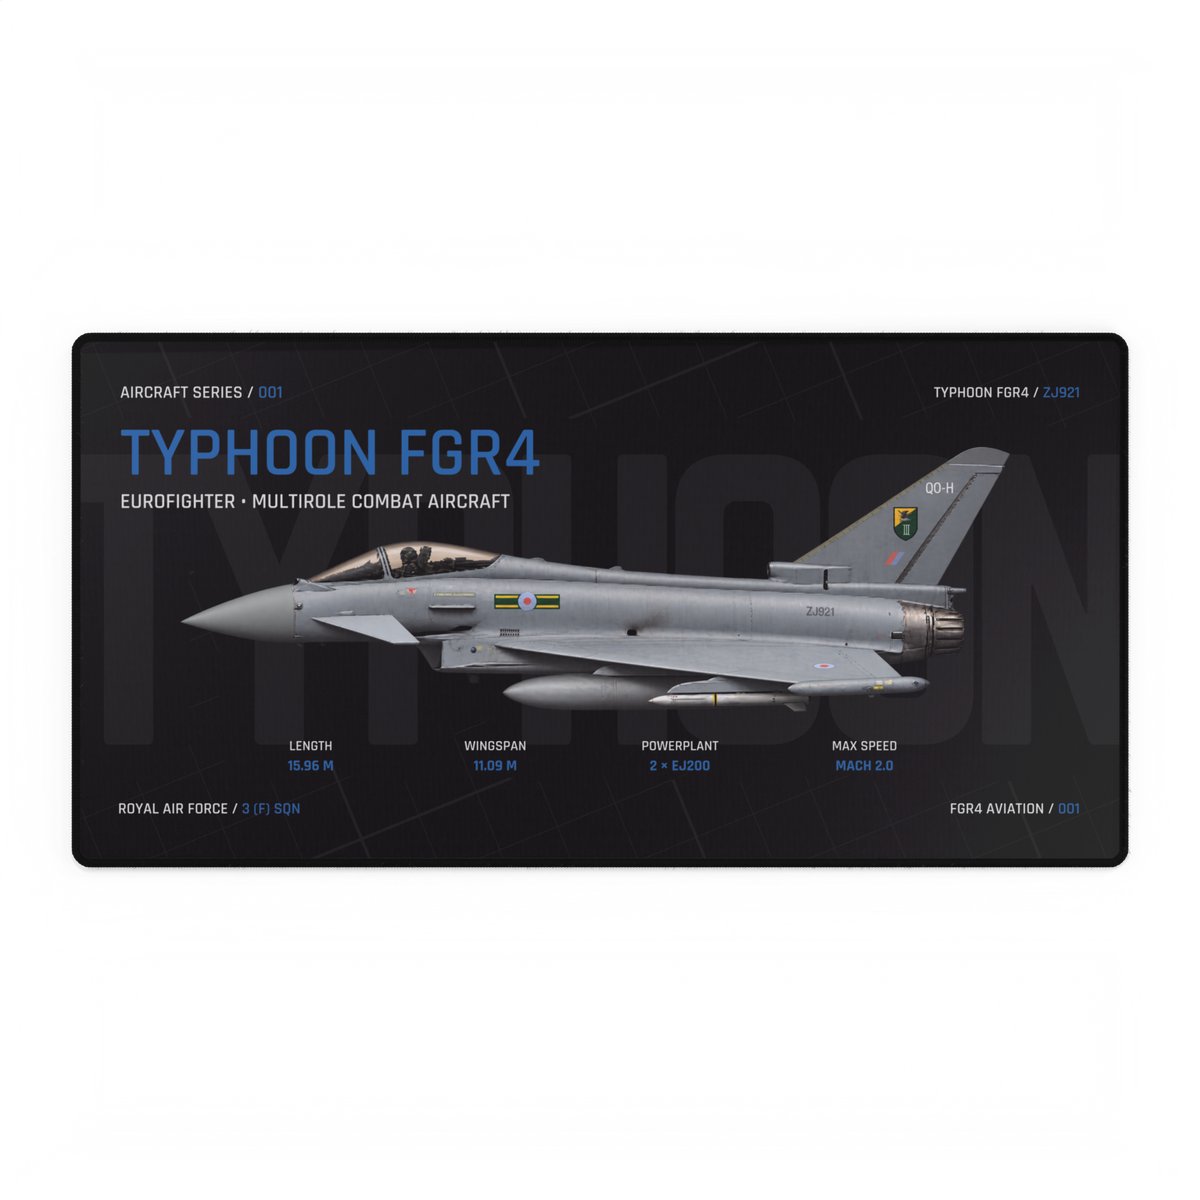
A side, top or front aircraft drawing is not a different aircraft: it is the same three-dimensional shape viewed from a fixed direction. The side view makes the profile easy to read, the top view reveals the wing planform, and the front view shows how major components sit above, below and across the centreline.
Three views, three different questions
NASA’s OpenVSP modelling guide uses the views for different jobs: the side view to shape a fuselage, the top view to match a wing planform, and the front view to place wings and inspect details such as dihedral. That gives us a practical way to read aircraft artwork.
Read the profile
Nose shape, canopy line, fuselage length, tail height and the relationship between them.
Read the planform
Wingspan, sweep, taper and the outline created by the wings and tail when viewed from above.
Read the stance
Wing angle, vertical placement, symmetry and the width or separation of major components.
What the top view adds
NASA defines the shape of a wing seen from above as its planform. This is the clearest view for reading sweep, span and how chord changes from wing root to tip. Those details can almost disappear in a side profile because the left and right wings overlap visually.
What the front view adds
The front view makes vertical relationships visible. NASA’s wing guide uses it to explain dihedral, where the tips sit higher than the root, and anhedral, where they sit lower. On a complete aircraft drawing, the same viewpoint helps you compare wing height, tail position, nacelle placement and overall symmetry.
Why the side profile still earns the hero position
The owned Typhoon FGR4 Aircraft Desk Mat image above uses a side profile because it gives the nose, canopy, fuselage and fin one continuous silhouette. It is strong for recognition and presentation. It cannot, by itself, show the full wing planform or whether the wings rise or fall from the centreline.
That is the useful distinction: a single view can be clear without being complete. A three-view drawing combines complementary information. Our earlier general arrangement drawing guide explains how those views work together in a technical reference.
A quick way to inspect any aircraft drawing
- Name the viewpoint. Decide whether you are looking from the side, above or ahead.
- Read only what that view can show clearly. Use a top view for planform and a front view for vertical relationships rather than guessing from a side profile.
- Check the drawing’s source and scale. NASA’s OpenVSP guidance warns that stated dimensions should take priority over a background image when the two disagree.
If you are comparing artwork, move between the views instead of choosing a single “best” angle. Start with the profile that catches your eye, then use the other views to understand the shape it leaves hidden. You can compare the current subjects in the FGR4 Aircraft Series; for captions tied to a particular aircraft and period, use our variant-caption checklist as the next check.
Sources checked 28 September 2026. Hero image: owned FGR4 product artwork. Product artwork is an illustration, not a manufacturing or maintenance drawing.